


Flexi Plate with PEX - Creality CR-10S Pro / Anycubic Kobra Plus (320 x 310 mm)
Flexi Plate with PEX - Creality CR-10S Pro / Anycubic Kobra Plus (320 x 310 mm)
Upgrade your 3D printing build surface with the Wham Bam Flexi Plate with PEX, sized at 320 x 310 mm. Combining a high-adhesion PEX build layer with a flexible, rust-proof spring steel plate, this system ensures strong first-layer bonding during printing and smooth, hassle-free print removal once cooled.
Engineered for long-lasting durability, this spring steel plate flexes easily to pop off complex models without damaging the print or build surface.
Key Features & Specifications
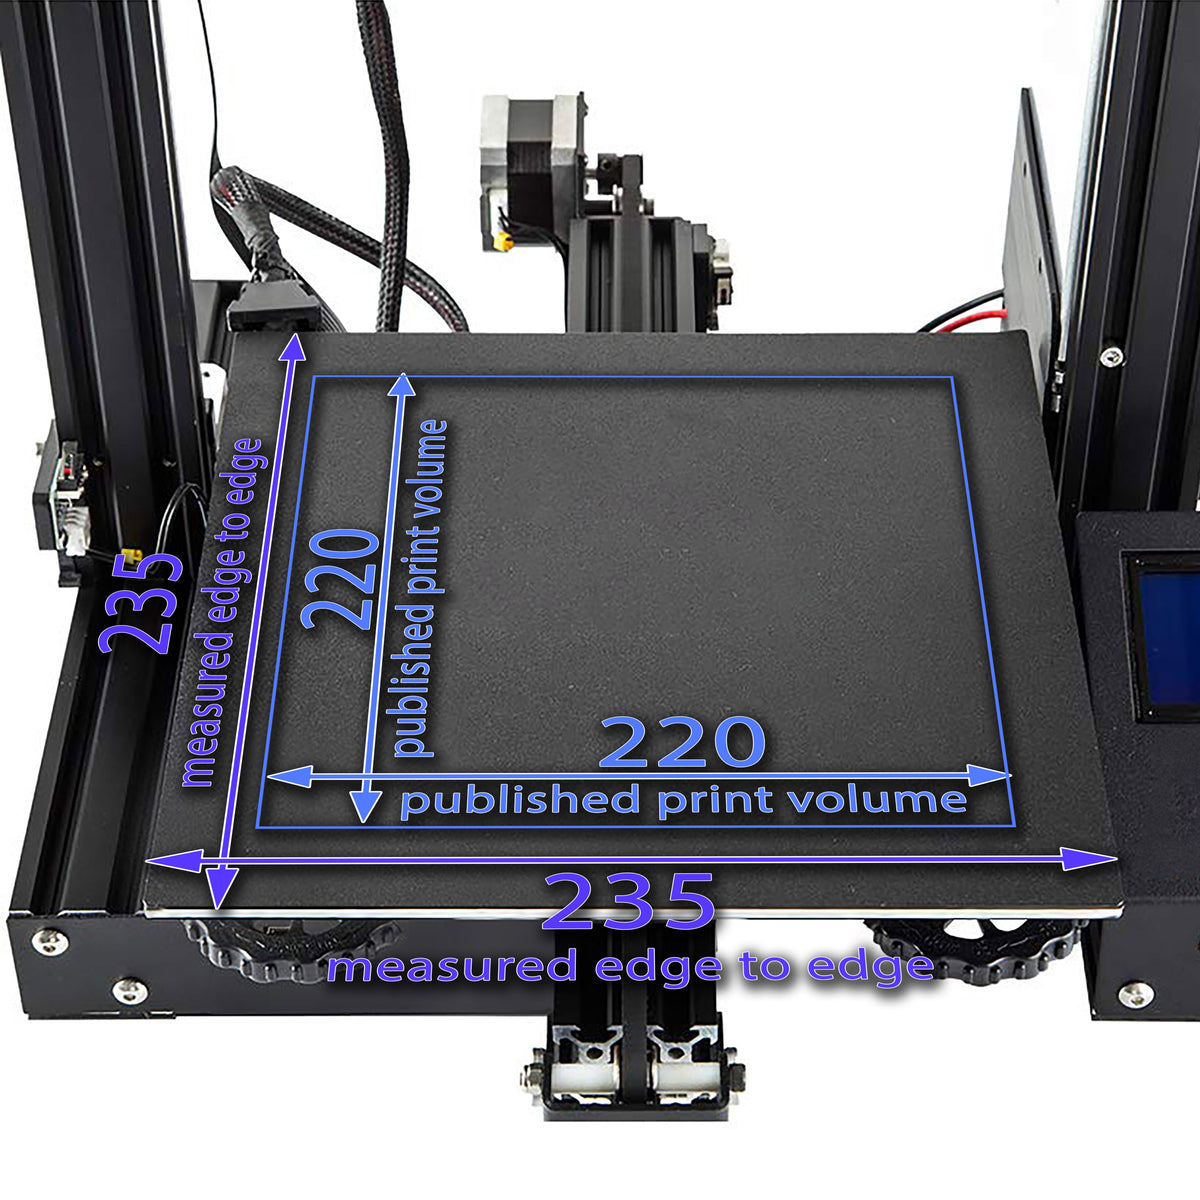
- Dimensions: 320 mm (Y direction) x 310 mm (X direction, tab side)
- Plate Thickness: 0.4 mm spring steel core
- Build Surface Thickness: 0.35 mm PEX layer
- Sensor Compatibility: Eddy current mesh, optical, touch, inductive, capacitive, and Cartographer sensors
- Package Includes: 1x Flexi Plate with pre-applied PEX Build Surface
Printer Compatibility
Direct Fit:
- Creality CR-10S Pro, CR-10S Pro V2, CR-10S Pro V3, CR-X, Ender 3 Max, Ender 3 Max Neo
- Anycubic Kobra Plus
- Comgrow T300
- Formbot Troodon 300
- goofoo Nova
- Sovol SV06 Plus, SV07 Plus (Requires removing the rear alignment screws or mounting the plate 5 mm forward)
May Fit:
- Anycubic Mega X, Artillery X4 Plus S1 (no alignment holes), Creality CR-10 Smart, Kywoo Tycoon Max, Sovol SV04
Setup, Maintenance & Best Practices
Note: A magnetic base or bed clips are required to secure the Flexi Plate to your heated bed.
Initial Surface Preparation (PEX Prep)
Before your first print, scuff the PEX surface in circular motions for 4–5 minutes using 000 steel wool or a red Composite Abrasive Pad (CAP 7447) until you achieve an even, satin-matte finish with minimal reflection. Clean thoroughly using >90% Isopropyl Alcohol (IPA) and a fresh paper towel (do not use rags, microfiber, or pre-packaged wipes).
Bed Leveling & Filament Setup
Re-run your printer's automatic bed leveling routine or manually set your Z-offset after installation to achieve the proper first-layer squish. For initial layers, set hot-end temperatures toward the lower end of the filament manufacturer's recommended range. Use a glue stick as a barrier layer when printing materials like PETG or ASA to prevent permanent bonding to the surface.
Part Removal & Care
Always wait for the build plate to cool completely before removing parts. Flex the plate gently to release prints—never force prints off while warm. Between prints, scuff the surface for about 10 seconds and wipe with IPA to clear filament residue.
Video Guide & Resources
Watch the video below for a complete guide on preparing, maintaining, and maximizing the life of your PEX build surface:
Downloads:
Share


Product added to Cart!
Flexi Plate with PEX - Creality CR-10S Pro / Anycubic Kobra Plus (320 x 310 mm)