
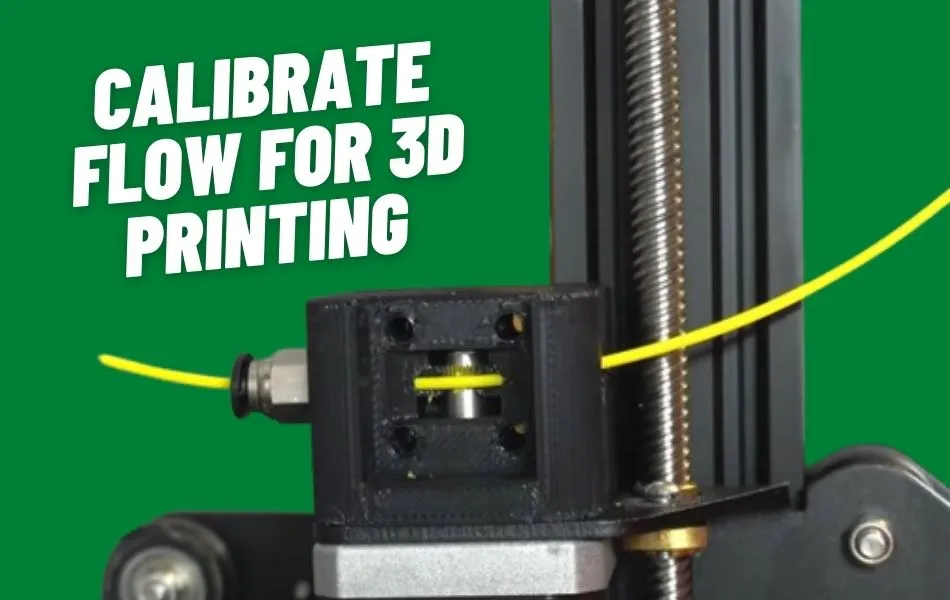
FLUID FLOW CALIBRATION FOR 3D PRINTING, AN ENGINEERING APPROACH
Calibrate flow for a 3D printer can be determined by fixed and variable values. These are for proper extruder multiplier calculations.
Fluid flow is affected by a variety of factors such as force, temperature, material density, material type, friction, and restriction. These are the principles and factors of fluid flow that would be best served with a deep study of fluid dynamics. The keys to understanding are Reynold’s law and Bernoulli’s Equation. In Fused Filament Fabrication (FFF), we need to know how to apply fluid flow in 3D printing.
You may be interested in doing additional research on the application and the science. Material flow in Fused Filament Fabrication has two points of interest. The first is the drive system and the second is the deposition or extrusion point.
The option of which of several (usually two) points and how to adjust them is varied, often confusing, and in some cases flies totally in the face of good engineering practice. The following procedure is based upon engineering practice that is applied in facilities that perform plastic extrusion. It is almost identical to that which is needed in FFF applications. The difference is not really what they do, but understanding which point is always constant and which is always variable.
Preparations
Verification
First, make sure that the mechanical part of the system is operating correctly. For most 3D printer machines, the drive component is a stepper motor. Although some have a servo motor or a variation thereof, the end objective is the same regardless of the hardware. The drive system takes the material and pushes it into the extrusion head. The drive system must provide:
- A consistent quantity of material.
- The correct quantity is commanded by the controller.
- The commanded quantity constantly.
Drive System
The driving system needs to be tested in static mode. It also needs to be adjusted without the extrusion nozzle installed. Apart from that, it should be without the heating system active. The material being used, the Nozzle orifice, and the temperature are all variables. These will change due to a variety of reasons all connected to the manufacturing “printing” process. To drive the system in static mode, the filament/printing material must move through the extrusion system unopposed.
If you have been running the machine and have the material in the PTFE tube, the nozzle needs to be removed and the material in it needs to be removed. Do not install a new PTFE liner as it is not necessary and will fall out. If the throat in your machine is not lined with PTFE and is all metal, it must permit material to pass freely or the throat needs to be replaced with a clean one.
Tools Required for 3D Printer Flow Calibration
Once the mechanicals is configured for the first part of the evacuation, you will need some additional tools as well as some material, these being:
- Choose the right 3D printer filament type (PLA, PETG, etc), sized for your machine.
- A digital or mechanical Vernier Caliper
- A marking pen or other markers
- PC with machine control software such as Pronterface or similar
Motor compliance
- Turn the machine on, but do not turn on the heated bed or heater block.
- Operate the work head so that is positioned free of any obstruction such as the bed or stands.
- Load your material and continue loading until you see the material protrude from the opening in the heater block where the nozzle has been removed.
- Using the Vernier caliper, measure and mark off 110mm as shown in the diagram below keeping in mind that the measurement may
- Be taken at different points depending on the type of system you are using.
- It is critical to measure from a fixed and easily accessible point.

Using the PC and Printer interface
Command the extrusion of 100mm of material. After the extrusion is complete, use the Vernier caliper to measure the material length remaining between the mark you made and the fixed point where the extrusion has stopped. Determine which of the following applies:
- If the system is configured and operating properly the leftover segment will measure 10mm +/-0.5mm.
- If the number is greater than 10mm the motor is under extruding.
- The number is less than 10mm the motor is over extruding
To obtain the best and most accurate results you would perform the procedure ten (10) times and take an average of the measurements. The use of multiple measurements and taking their average yields a reliable value.
If the over or under extrusion is more than 1.5mm it is strongly recommended to correct this in the Firmware or, at minimum, in the G-code script.
An excellent tutorial on performing a stepper motor calibration can be found using the Prusa printer calculator. This will guide how you can calibrate flow for a 3D printer.
NOTE: On most machines, the extruder will not require any adjustment.
Material Flow for Calibration
You have now determined that when a value is requested from the stepper motor it provides that value; this is a constant. The opening or orifice the material is flowed through, the viscosity of the fluid and even the diameter of the orifice will vary/change with temperature. For this reason, the system has a compensation adjustment that needs to be set for orifice size and the material used.
The current slicing software like Cura, Slic3R, Simplify 3D, and others have a compensation value called the extruder multiplier. You must determine this value. The machine will use that value to correct the aforementioned variables at the hot end. The procedure is similar to the previous one with the major difference being that the hot end is assembled as it will be during the print/manufacturing process.
Procedure for Flow Compensation:
- Assemble the hot end with the nozzle you plan to use.
- Load the material with which you will be manufacturing.
- Turn the machine on, but do not turn it on, OR pre-heat the bed.
- Operate the work head so that is positioned free of any obstruction such as the bed or stands. Set the Z-axis to raise the print head to 120 mm above the bed.
- Set the temperature of the hot end you plan to use during the manufacturing/printing process.
- Once the machine has achieved the set temperature and the temperature has stabilized (this may take 3-6 minutes depending on your equipment). Use the PC or the control head (note that using the PC printer interface tends to be faster, simpler, and less erratic) to extrude 50-100mm of material to purge and/or prime the hot end.
Example 1:
Using the Vernier caliper, measure and mark 110mm as shown in the diagram below. Keep in mind that:

- Using the PC and Printer interface (or if you feel comfortable with the machine’s control panel) command extrusion of 100mm of material.
- The measurement may be taken at different points depending on the type of system you are using.
- The critical part is to measure from a fixed and easily accessible point.
- After the extrusion is complete, use the Vernier caliper to measure the material length remaining between the mark you made and the fixed point where the extrusion has stopped.
- The 100mm you requested from the machine is called the theoretical value and needs to be divided by the actual value (100/measured value).
- To determine the actual value subtract the value you got from “I” (above) from 110 mm Example 1: The T or Theoretical value is 100 mm; after the extrusion is finished you are left with 12mm, therefore 110-12 = 98, so you used only 98mm in the extrude 100mm / 98mm = 1.02048
Example 2
The T or Theoretical value was 100mm; after the extrusion is finished you are left with 8mm, therefore 110-8 = 102, so you used 102mm in the extrude 100mm / 102mm = 0.98039
- Most software is accurate to three significant digits so you will need to use rounding rules. Therefore, the extruder multiplier values in these cases will be 1.02 or 0.98, respectively.
- Repeat steps “G” through “I” three times (NOTE the range of values should be +/- 0.7mm (e.g., 98, 98.5, 97.7, etc.) if one value is off perform additional l runs until you obtain three (3) good values consecutively
- Take an average of the three good values. Use the average value to calculate your compensation value. See Table 1 – Observation and Adjustment (below).
| Table 1. Observation and Adjustment | |
| Effect | Compensation Value |
| Over Extrusion | <1 |
| Under Extrusion | >1 |
Benefits
- Print Temperature. If you hear any skipping from the extruder teeth while extruding, you will likely see high compensation values. This indicates that the temperature is too low. When the extruder temperature is correct your compensation value will be 1 +/-0.1 and the filament flow will be smooth and laminar.
- This procedure is faster than a temperature tower and uses less material.
Copyright 2019, Nano Materials and Processes, Inc. All rights reserved.
